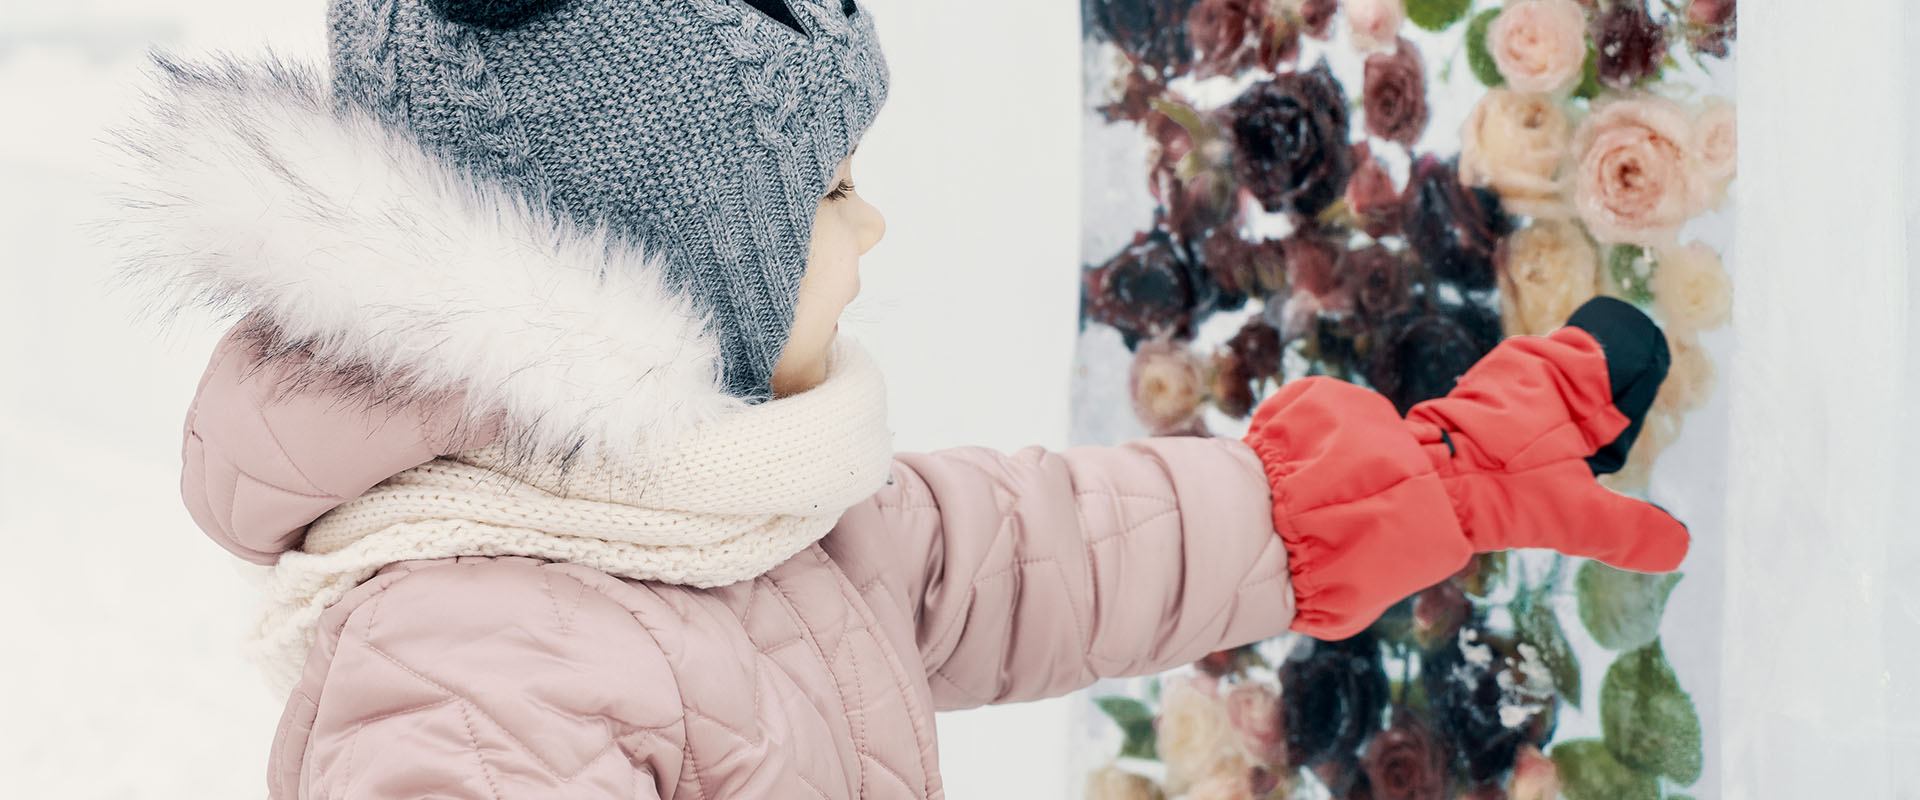
Ice Sculptures

Resources needed:
• Shallow containers (small take-away coffee cups are ideal)
• Short lengths of string
• Woodland items
• A freezer
Making the activity:
• Collect some woodland items from your garden or whilst on a walk. Examples include leaves, twigs, pine needles, feathers, acorn cups and flowers.
• Place a piece of string into your container, making sure it overlaps the side. Leave a loop outside the container so that you can hang your creation once it’s frozen.
• Put a few of your woodland treasures into the container.
• Carefully pour water over the items.
• Gently put the container into the freezer and leave overnight.
• Remove your frozen sculpture from the container and hang it up outside!
How this supports Knowledge and Development
This is a great activity for investigating how water turns to ice and then melts again (changing materials from liquid to solid to liquid again).
Talk with your little one about how long they think it’ll be before their sculpture melts and their treasures are free again.
Experiment with cooled boiled water and water straight from the tap, discover and discuss the difference.
Keeping Everyone Safe Curiosity can lead to children putting things into their mouths, take extra care and remember to wash your hands!
TOP TIP: If you use cooled boiled water you will get clear ice
How to extend the activity:
• Concentrate on melting rather than freezing and explore ways to free the items.
• Talk and think together how you might be able to melt the ice quicker by combining materials to make a change, for example, try adding salt or water to the ice.
• Use problem solving and make predictions and observations together, discussing cause and effect. What melts the ice the quickest and why do you think that is?


